
Sprouts - the superfood you can grow in a jar at home! Just 5 minutes a day and you'll have crisp refreshing sprouts that are loaded with nutrients.
Another month and another Plant Basics guide! This time around we have the freshest how to yet - sprouts.
Growing sprouts is like having a magic little miniature garden in our kitchen that grows the most perfect, crisp, refreshing, miniature greens of our life.
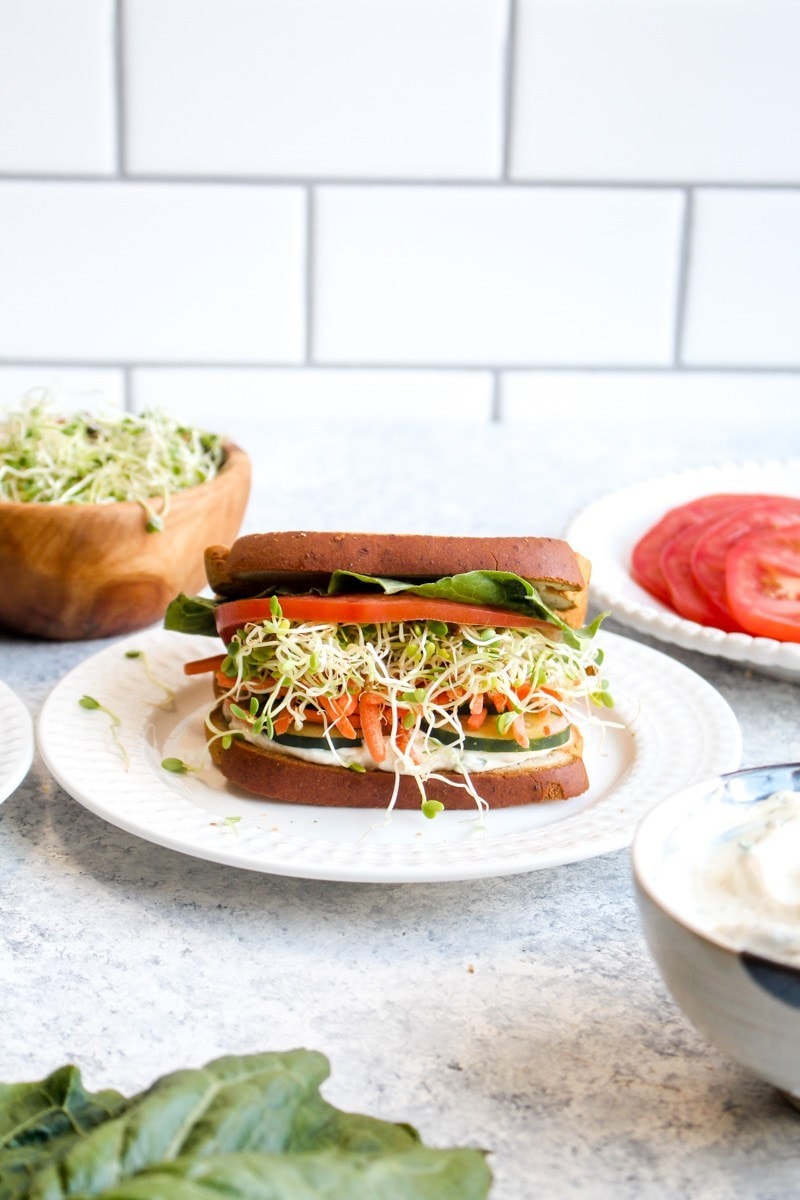
What is it about adding sprouts to a sandwich that makes us feel like it's a warm sun soaked summer day in California and we are sitting on the beach just taking it all in?
And these tasty miniature greens pack in some serious nutrition! Sprouts contain 100 times more enzymes than other vegetables - making them easier on digestion. They have more nutrients than almost any other food including more vitamins, minerals, and cancer fighting antioxidants.
Just think of all the nutrients the tiny little seed needs to grow into a full fledged plant. They are right there packed into that one tiny sprout.
How to Grow Sprouts in a Jar at Home:
Day 1:
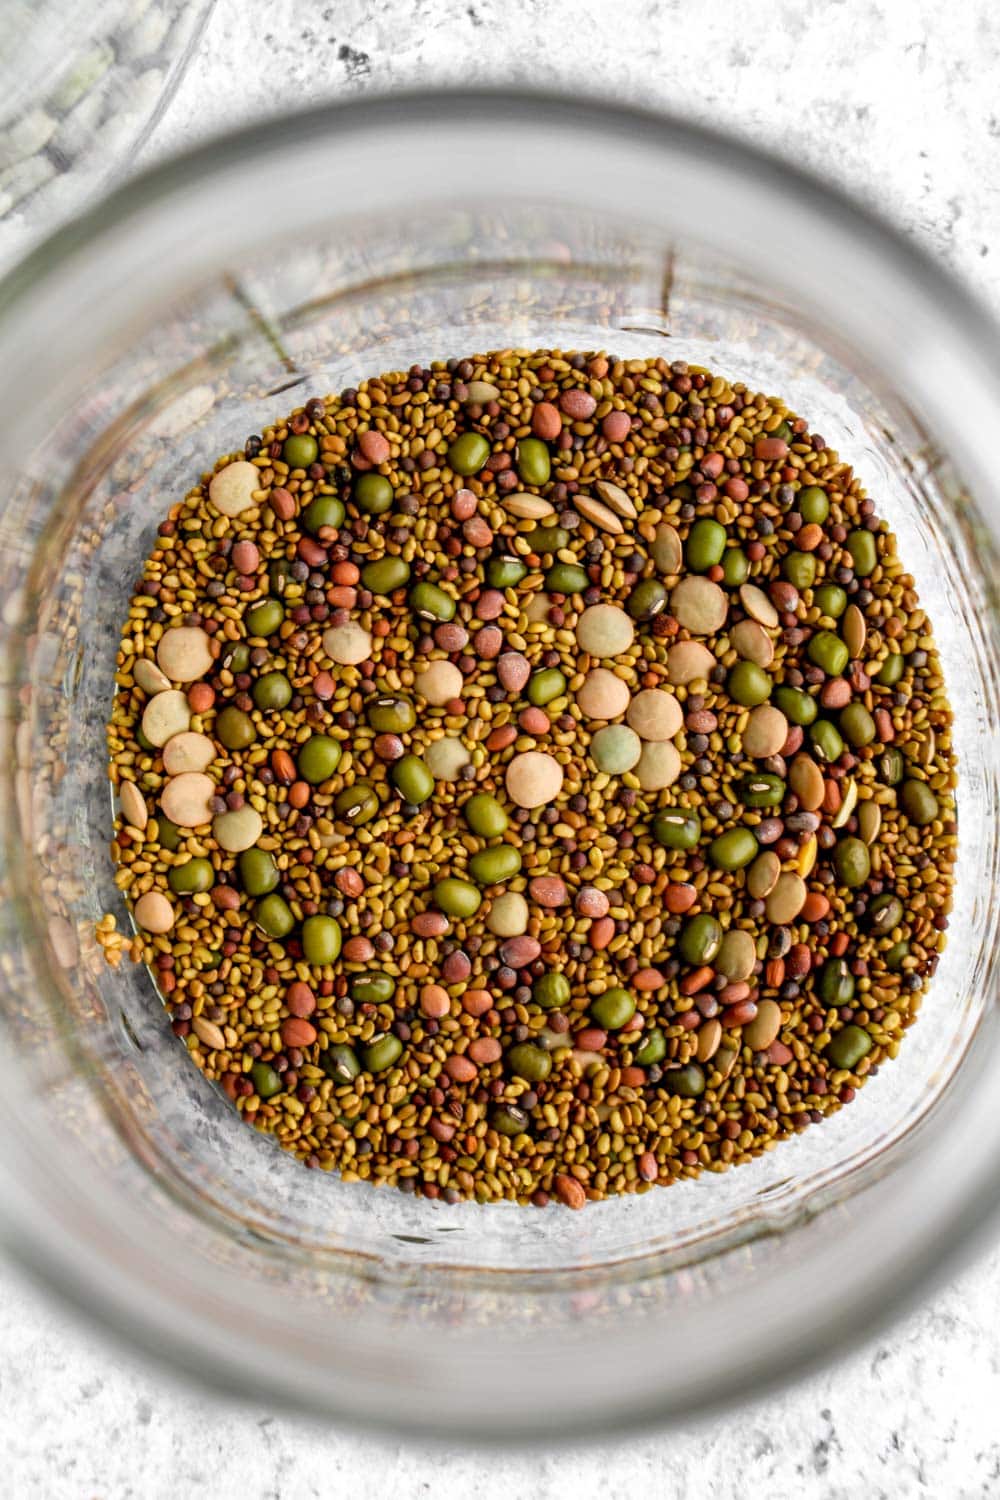
Place the seeds in your mason jar and cover them with water. Let them sit on the counter overnight.
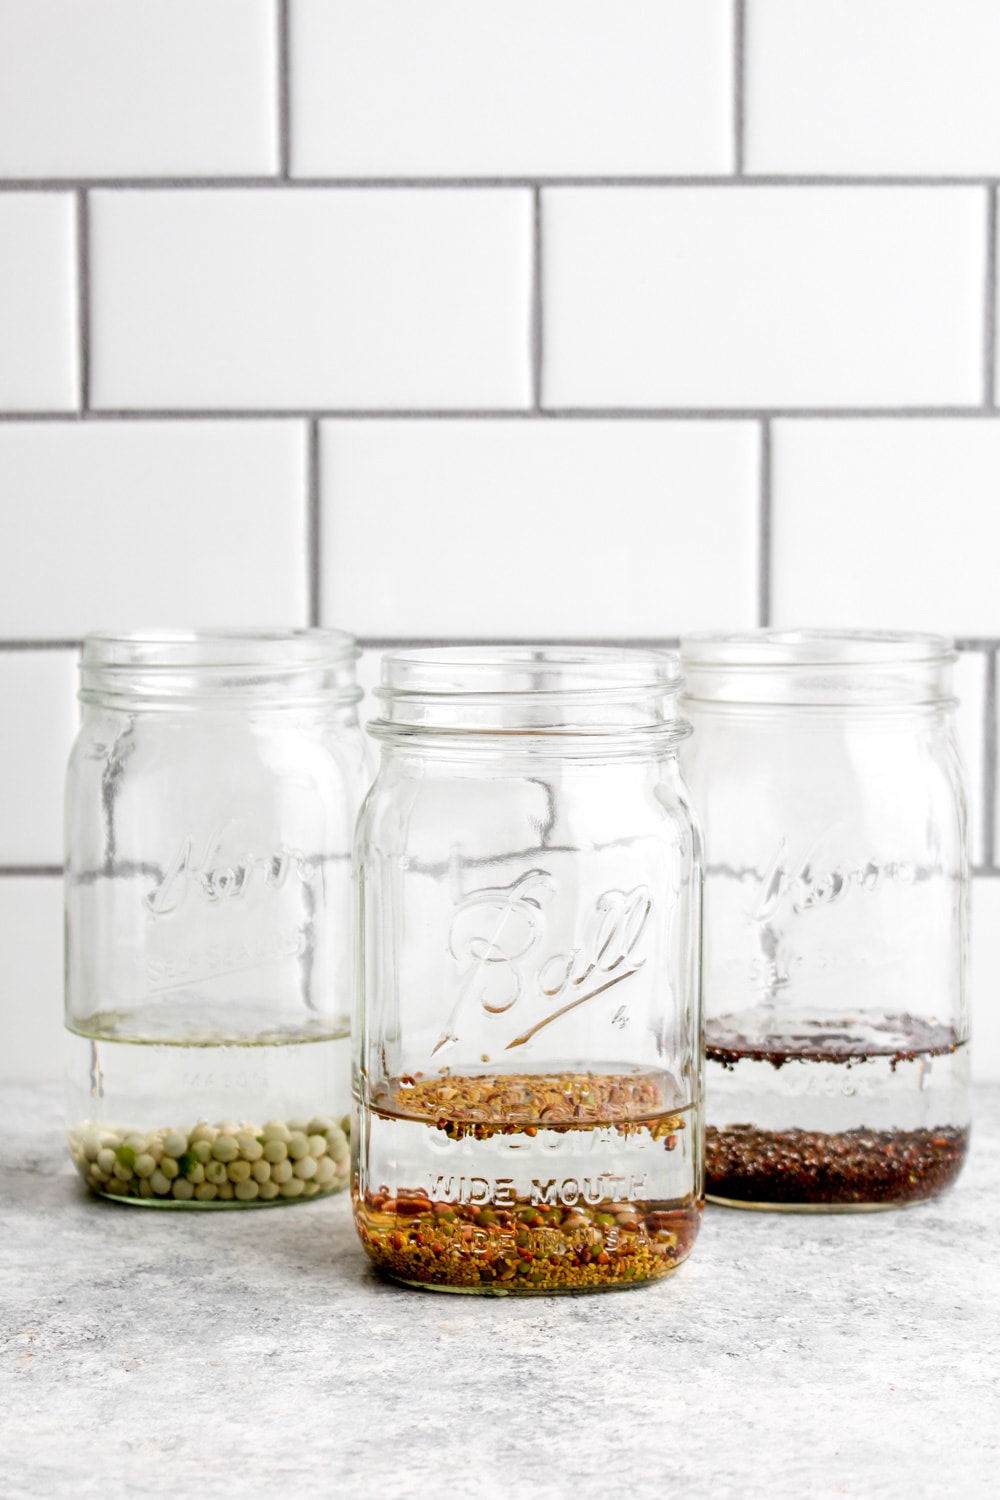
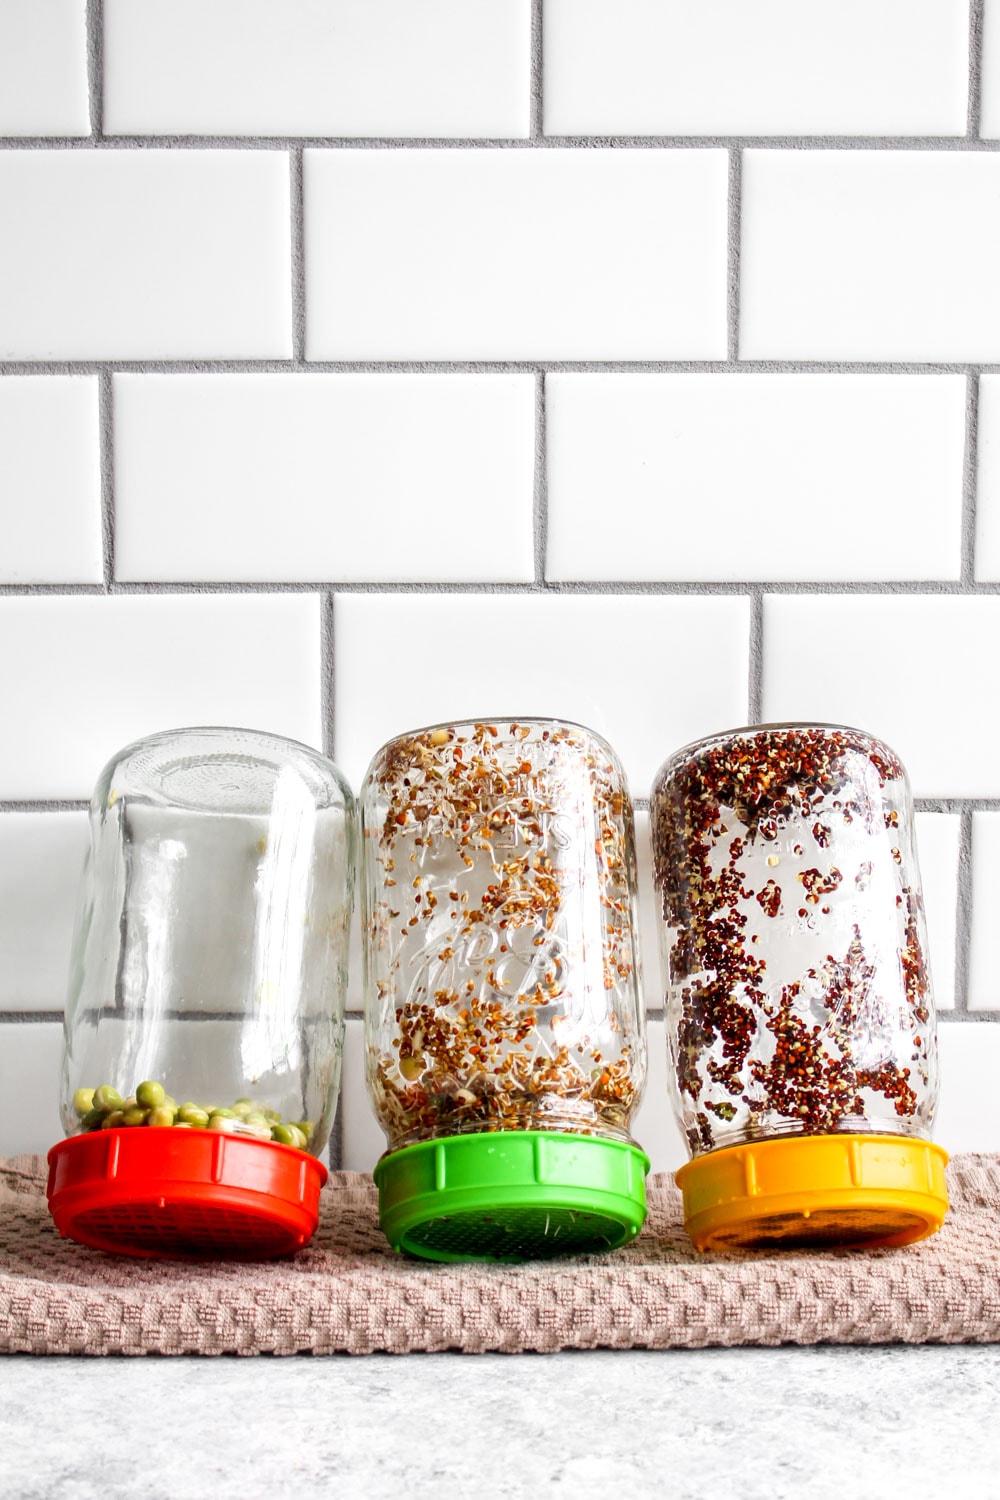
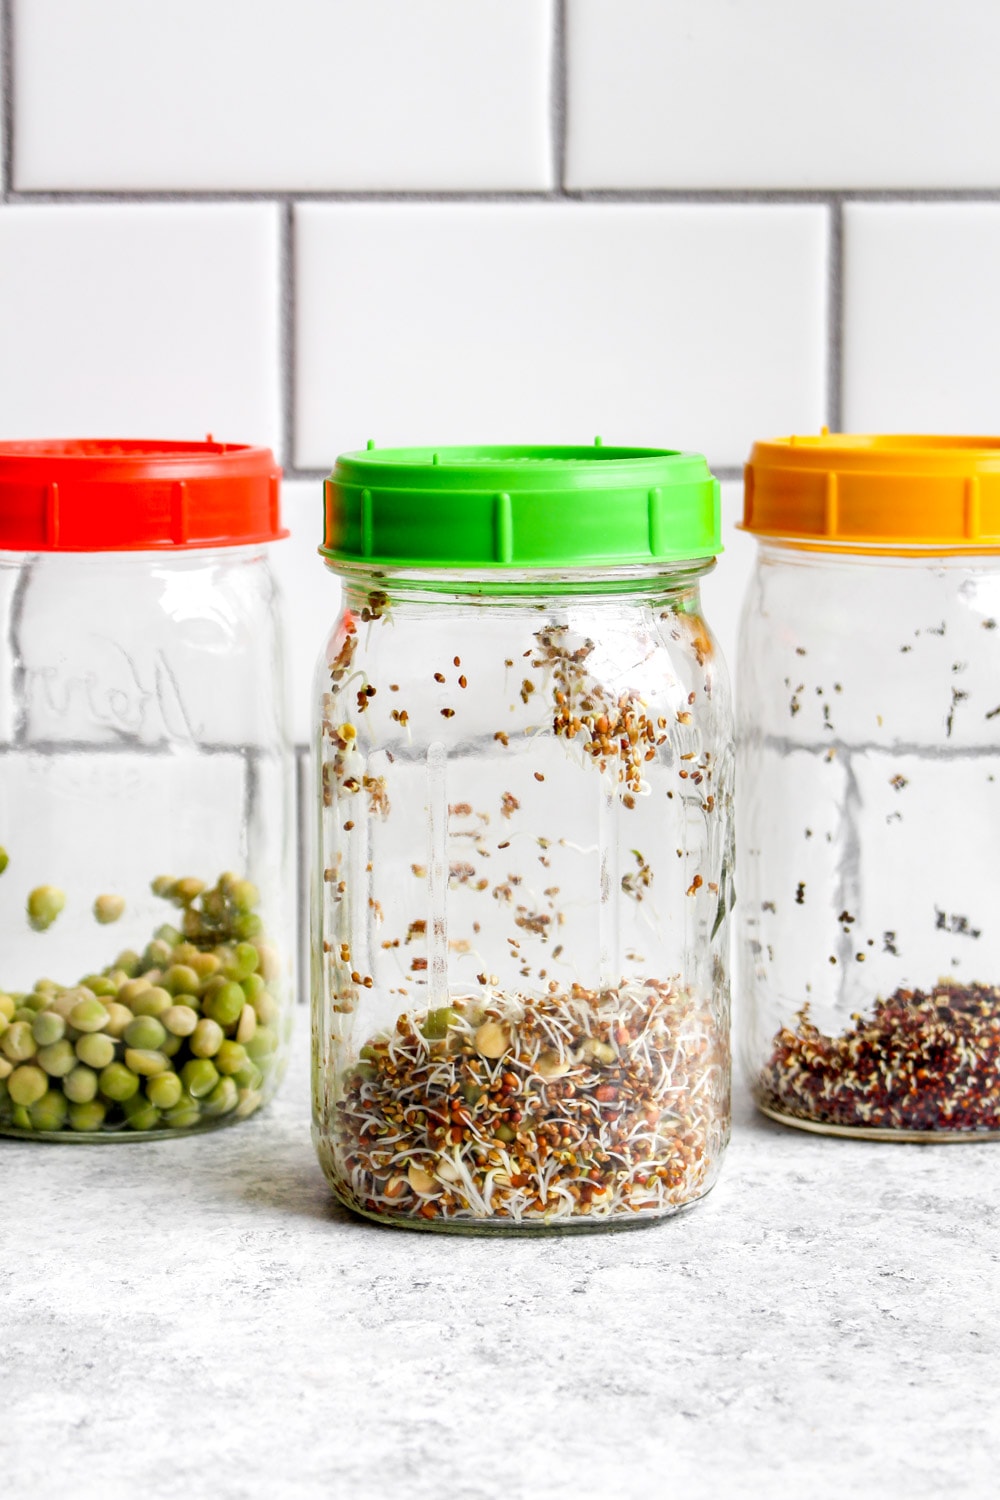
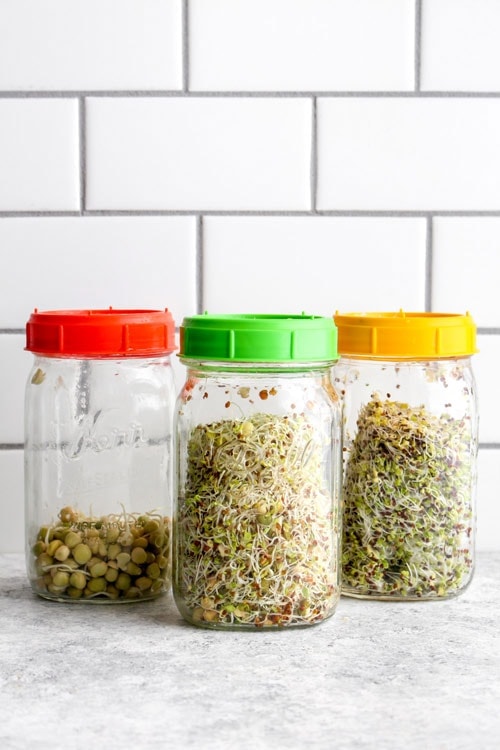
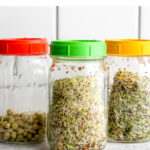
From left to right: pea sprouts, sprout mix, and broccoli sprouts
Day 2:
In the morning, spin on your sprouting lids and drain the soaking water. Add in clean water and swirl it around to rinse the sprouts. Drain off the water and place the jars propped upside down on a towel in a place without direct sun light. Rinse the sprouts 1-2 more times throughout the day. I usually rinse them in the morning, when I get home from work, and right before bed.
Day 3:
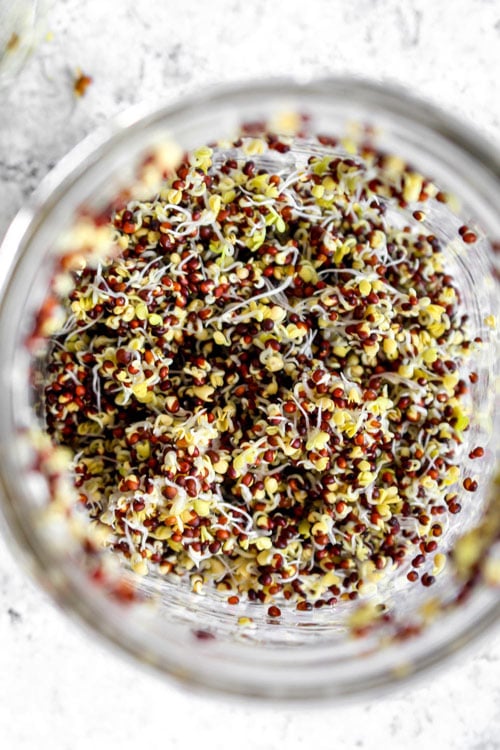
Rinse the sprouts 2-3 times today. You can now see little sprout tails should start to form! Remember that sprouts can have different sprouting times. The broccoli seeds (far right) are just starting to grow, the salad mix (center) has visible sprouts, and the peas (left) haven't formed any sprouts yet.
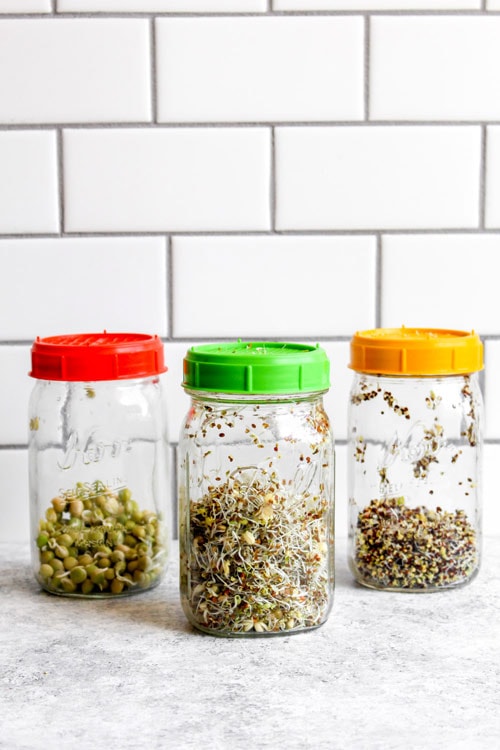
From left to right: pea sprouts, salad sprout mix, broccoli sprouts
Day 4:
Rinse and repeat. Those sprouts are officially GROWING!
[one-half-first]
From left to right: pea sprouts, sprout mix, broccoli sprouts
[/one-half-first]
[one-half]
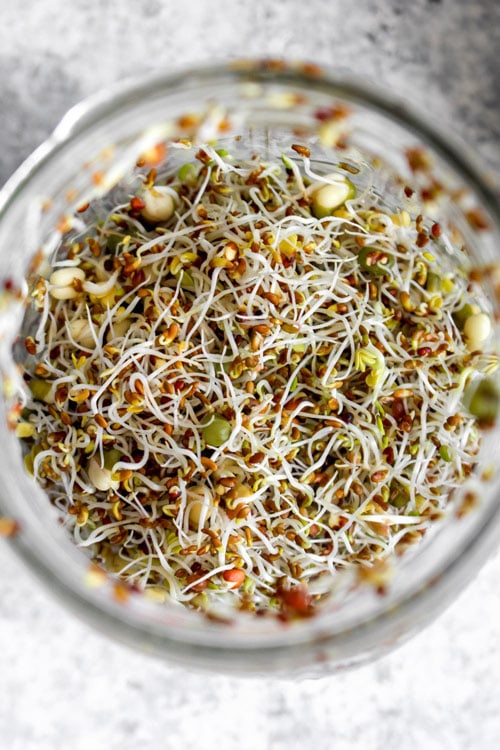
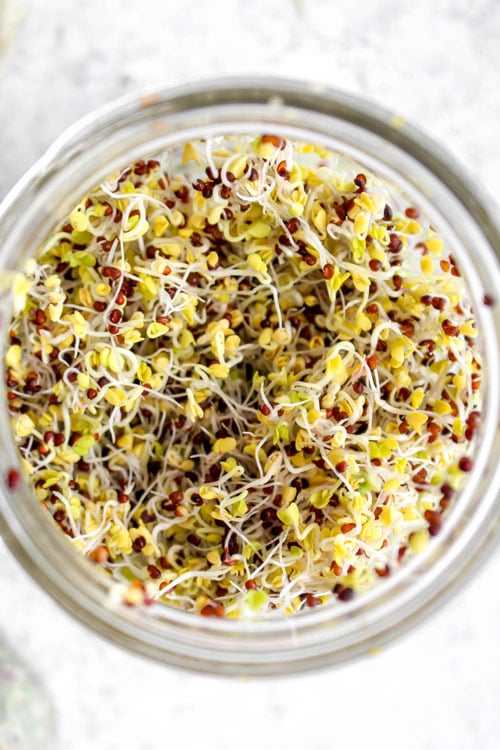
Sprout mix (a mix of radish, broccoli, alfalfa, green lentil, and mung bean sprouts)
[/one-half]
[one-half-first]
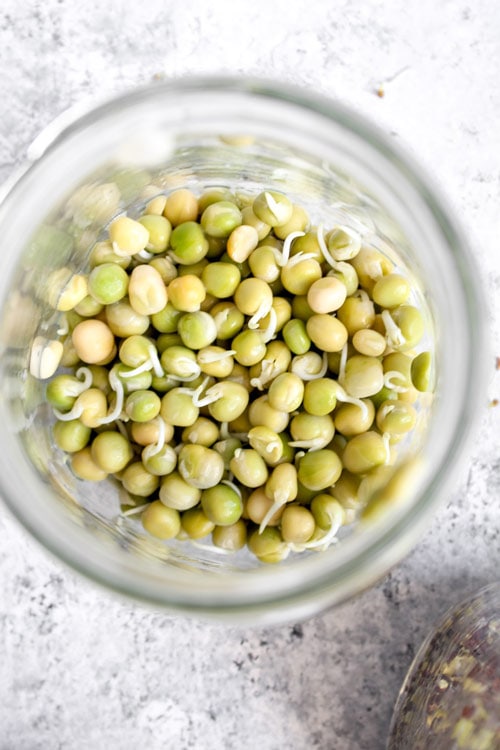
Pea sprouts
[/one-half-first]
[one-half]
Broccoli sprouts
[/one-half]
Day 5:
Same old same old. Rinse and repeat. The pea sprouts were finished today, so I moved them into a paper towel lined container and popped them into the fridge. I could tell the pea sprouts were finished because their tails were about 1 inch long.
[one-half-first]
Left to right: pea sprouts, sprout mix, and broccoli sprouts
[/one-half-first]
[one-half]

Sprout mix (a mix of radish, broccoli, alfalfa, green lentil, and mung bean sprouts)
[/one-half]
[one-half-first]
Broccoli sprouts
[/one-half-first]
[one-half]

Pea sprouts (finished today!)
[/one-half]
Day 6:
When your sprouts have grown to about 1 inch in length (that was day 6 form me!) move them into some direct sunlight. Continue to rinse the sprouts and drain them as before.
The sunlight will activate the chlorophyll and make them a bright green! Rotate your jar throughout the day so that all side see some sunlight. By the end of 1-2 days in the sun, they should be green and ready to transfer to the fridge.
There was no need to put the pea sprouts in the light because pea sprouts don't grow little leaves like the other sprouts do. So, there is nothing for the sun to activate and turn green.

Left to right: broccoli sprouts, sprout mix
Tools You'll Need to Grow Your Own Sprouts:
32 Ounce Wide Mouth Mason Jars
Sprouting lids, either plastic or metal
Ingredients You'll Need to Grow Your Own Sprouts:
Sprouts! There are a lot of varieties out there, but in this post I used pea, broccoli, and a sprout mix.
What to do with Your Homegrown Sprouts:
- Use them on this Loaded Cream Cheese Veggie Sandwich
- Or on top of this Grain Free Chickpea Flatbread
- In this California Burger recipe
- On wraps, sandwiches, soups, tacos, and anywhere you want their crisp refreshing bite!
Plant Basics: How to Grow Sprouts in a Jar
- Cook Time: 25
- Total Time: 25 minutes
- Yield: 5 servings 1x
- Category: Plant Basics
- Method: Sprouting
- Cuisine: American
Description
Sprouts - the superfood you can grow in a jar at home! Just 5 minutes a day and you'll have crisp refreshing sprouts that are loaded with nutrients.
Ingredients
- 2 tablespoons small sprouting seeds (like alfalfa, broccoli, or radish) per jar OR ¼ cup large sprouting beans (like peas or chickpeas) per jar
Instructions
- Add the sprouting seeds or beans to a jar and cover with water. Let them soak overnight.
- The next morning, pop on your sprouting lids, drain off the soaking water and add in fresh water. Swirl the jar around to rinse the seeds and drain off the water. Place the jar, lid side down, onto a clean towel in a place that does not receive direct sun light.
- Continue to rinse your sprouts 2-3 times a day until they are about 1 inch long. This should take 4-5 days.
- If you are sprouting beans, you can stop here. Your sprouts are done! Move them to a lidded container lined with a paper towel and store them in the fridge.
- If you are sprouting seeds, rinse them for one more day but place them in direct sunlight (through a window so the sprouts don’t get too hot and scorch), rotating the jar throughout the day so the sun hits all sides. In this step the sun activates the chlorophyll in the sprouts, turning them green and giving them extra nutrients! After the sprouts have greened up (1-2 days) transfer them to a lidded container lined with a paper towel. Enjoy!
Nutrition
- Serving Size: ⅕th recipe
- Calories: 10
- Sugar: 0g
- Sodium: 5mg
- Fat: 0g
- Carbohydrates: 1g
- Fiber: 1g
- Protein: 1g
My friend just gave me a sprout jar last month and the instructions were kind of vague, so I searched and found your site with very VERY clear instructions! Thank you for that!
I just wanted to share another excellent sandwich that sprouts compliment exceedingly well!
bread of choice
mayonnaise of choice
baked tofu of any flavor, sliced laterally in half
thinly sliced tomato (salt and pepper that tomato first!)
thinly sliced cucumber
thinly sliced red onion
several basil leaves (or fresh dill if you like, or both!)
avocado if desired
and the star of the show: SPROUTS FROM A JAR!
Last step:
Devour!
Cheers!
Stephanie! Thank you so much for your review and sharing your recipe! I can't wait to make it... the basil leaves sound AMAZING!
Correction in my last comment: *complement
Ok, now I know how to open my world a little bit more. But no body says anything about the seeds that don’t sprout. Or does it not matter.?
Hello! What you see in the photos that looks like seeds that didn't sprout are actually sprouted seeds that have shed their outer shell. If you purchase sprouting-grade seeds, they will almost all sprout.
I dont get sun on my property year round. Can an LED grow light do the same thing?
Hi Debra! The sprouts actually thrive in the dark until the very last day. Even then, they do not need direct sunlight, just however much natural light comes in through your kitchen window. I just prop them up on the windowsill for a day or two until they are green.
Hi!
What’s your favorite brand for seeding sprouts?!
Hi Abbey! I usually buy Handy Pantry brand (available on Amazon or at some health food stores like my local Natural Grocers) or Food To Live from Amazon. Happy sprouting!
Should the sprouting jars be drained upside down for the duration of the sprouting period, only the second day or just until the beginning root emerges? Thanks.
Hi Chim Chim! The jars should be drained upside down for the duration of the sprouting period. This helps keep them fresh. Happy sprouting!
do you eat the seeds with the sprouts??